To style a twisted bun you will need the following supplies:
- Thin, black Goody Ouchless band
- Stylish cloth or plastic band
- 15-20 bobby pins (or as many as you need)
- Spritz--I used bottled water, aloe vera juice, detangling tea, rosemary oil, and JBCO.
- Natural Gel-- My fav is Shea Moisture Curling Souffle.
- Natural Pomade--My fav is Tropic Isles Rosemary JBCO pomade.
I style my hair with a spritz, natural gel, and natural pomade. I start with a clean, conditioned head. I air dry my hair over night in gigantic twists. The next day, I finger detangle and section my hair into four sections. Think of quadrants.. Two sections in the front and two sections in the back. Begin twisting your hair into the size of twists that you want. I prefer medium twists, because I have issues with the takedown from mini twists. I prefer to mix a little souffle with pomade and then apply to each section. I twist really tight per the Naptural85 method. I tightly twist until the hair can't be twisted anymore then move down to the next section.
 |
| Front view |
Next, I sectioned my twists into two gigantic sections--One on the left back side of my head and one on the right. I folded my twists over my hand and pinned each side down starting with the back section top to bottom.
 |
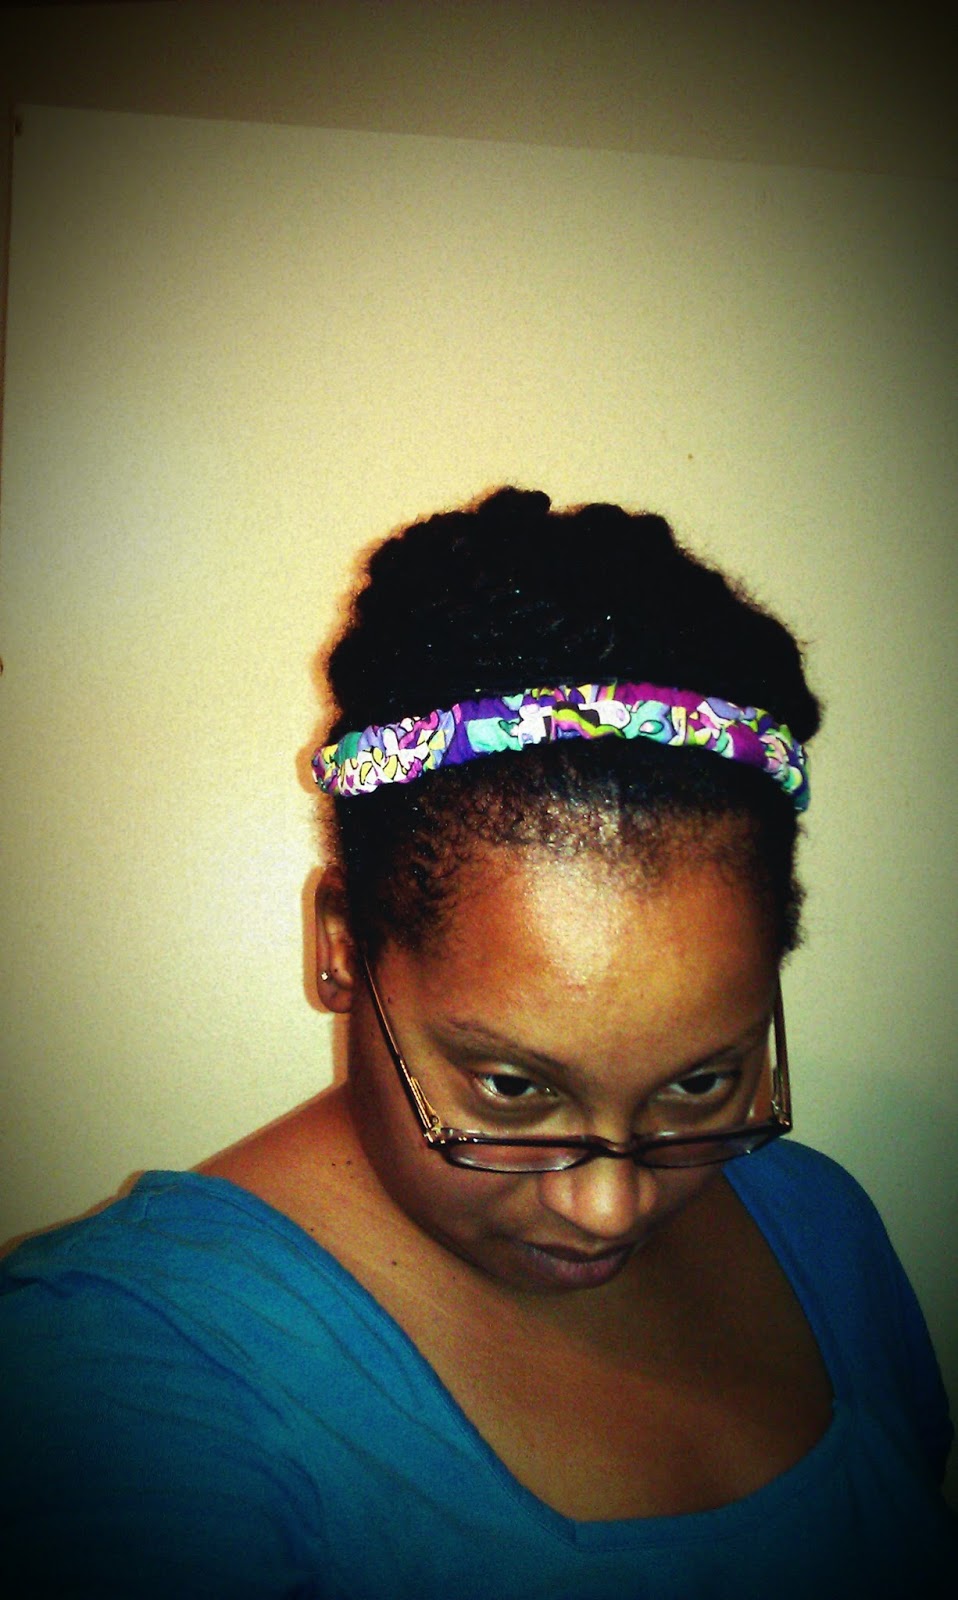
| Side view |
Finally, I smoothed down stray hairs and used a little pomade on my edges and hairs in the back. I wrapped my hair with a silk scarf to hold the style and smooth down my hairs.
I added a colorful scarf to create style and give my bun a vibrant look. The first time that I did that style I used a plain black, chunky headband. The cool thing about the headbands is that you can go casual or more dressy dependent upon your destination for the day.
Next time I plan to make my bun more uniform. I know that it is slightly off centered. For me, the art of twisted buns is an ongoing process. My first goal was to make sure that it looked neat and presentable, which I think I accomplished. When I do it again, I will be sure that each side is more symmetrical. That slightly lopsided bun look didn't get any weird looks, thank God!
 |
| Back view |
Dear readers, have you tried a twisted bun? What tips do you have for styling and maintaining it? What are your go to styles for the summer?
No comments:
Post a Comment